How to use a percolator?
It is very easy to learn how to use a percolator. Although, there are many different brands of coffee percolators in the market place. Each coffee percolator, be it a stove top percolator or an electric percolator, all work in the same manner.The principles that make the percolator perform its magic are universal, regardless of what type or what brand of perk coffee maker it is you are using.
So, how to use a percolator? The first thing one has to do is ensure that all the components are clean. If there are any remnants of previous brews then the chances are that the new brew will be tainted by these left-overs.
It is therefore very important to ensure that the percolator coffee maker is clean – all of it. The next step entails putting water into the bottom of the percolator.

Love coffee? Here is some more "free stuff"! Learn more with this ebook (is free!)
Questions about Coffee
Questions about coffee? Have it answered by the professionals. Examples of some questions:
What are the considerations for an office coffee station?
What are the essential V60 Coffee Brewing tools?
Non coffee (but important to coffee) question: What is whole milk?

There will be an indication as to the correct level to which one can fill the water reservoir. This level indicator is there for a purpose – it should be adhered too.
Once the water is in the bottom of the percolator it is then time to add the grounds to the basket.
It is important to note that the perk coffee maker is not a closed system. This means that there is no build up of steam pressure to drive the water through the coffee grounds.
It follows that the perk coffee maker will need coffee grounds that are relatively coarsely ground. This will allow the water to percolate freely through the coffee grounds in the grounds basket.
Then all that remains is to complete the assembly of the percolator and place it on a heat source.
That is how easy it is to learn how to use a percolator. What follows is not really visible to the eye unless you have a glass percolator.
As the water in the reservoir heats up and reaches boiling point, the heated water will rise up the centre column to spill out over the grounds that are in the filter basket.
The hot water will then percolate through the grounds and flow back down into the reservoir below. The coffee is then infused into the water blow.
This is then drawn up the centre column again to be spilt out over the wet grounds again. This process is completed for as long as the percolator is standing on a heat source.
The advantage of a glass percolator is that one is able to accurately assess the strength of the brew by looking at the colour of the coffee at the bottom of the percolator.
Once it is done you are ready to serve. It is really easy to learn how to use a percolator, don't you agree?
About US | OCM Profile
OCM (OnCoffeeMakers.com) was started in 2007 with the first webpage about coffee machines. And for a number of years, we focused on helping people find their desired coffee machine (we still are helping folks with that! So, if you are looking for coffee machines for office or restaurants - check out the link).
In 2010, we started getting enquiries on restaurant marketing and we start to help food and beverage brands with their marketing. Below are campaigns and events that we have done over the years:
OCM's campaigns: F&B Marketing Ideas by OCM
OCM's Events: F&B Industry events by or with OCM
Check out this restaurant marketing guide to learn more about the many campaigns and companies we have worked with.
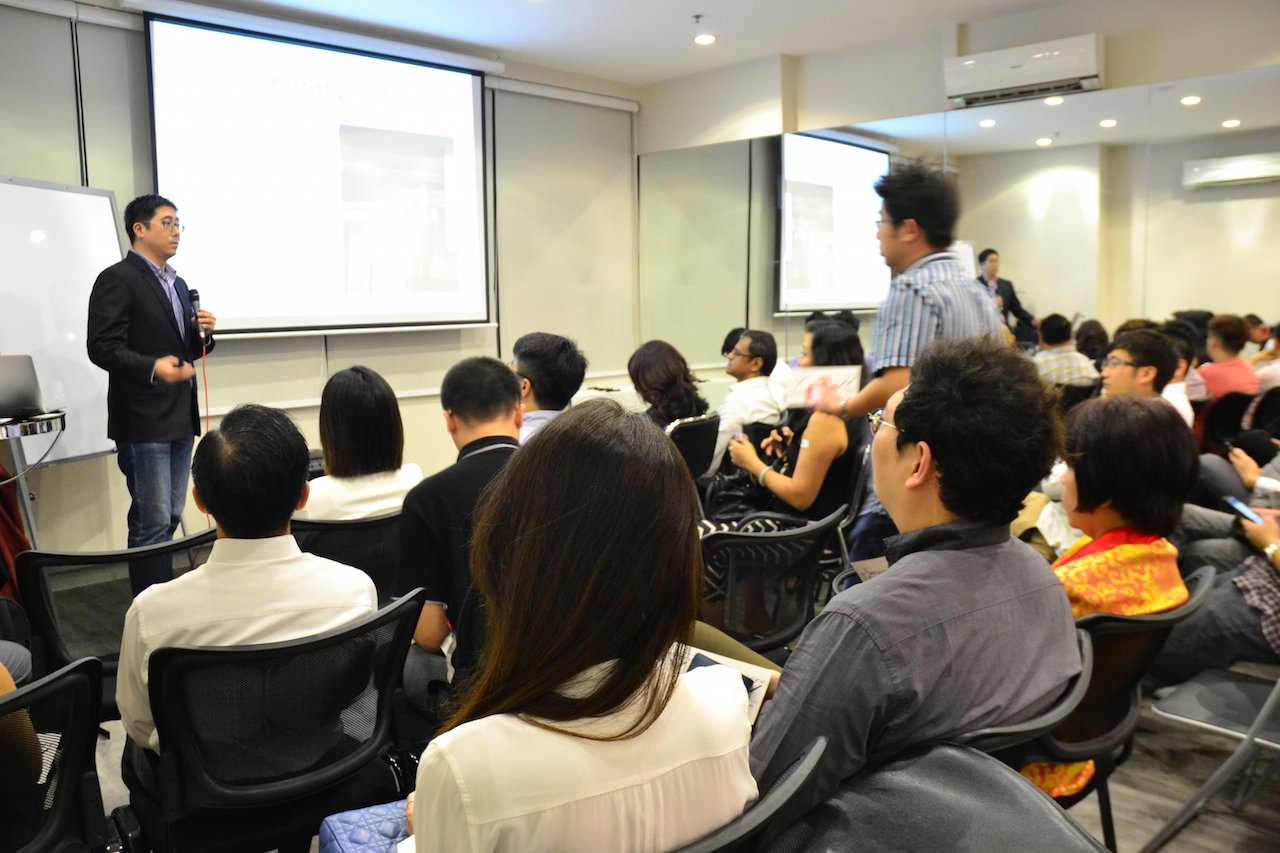
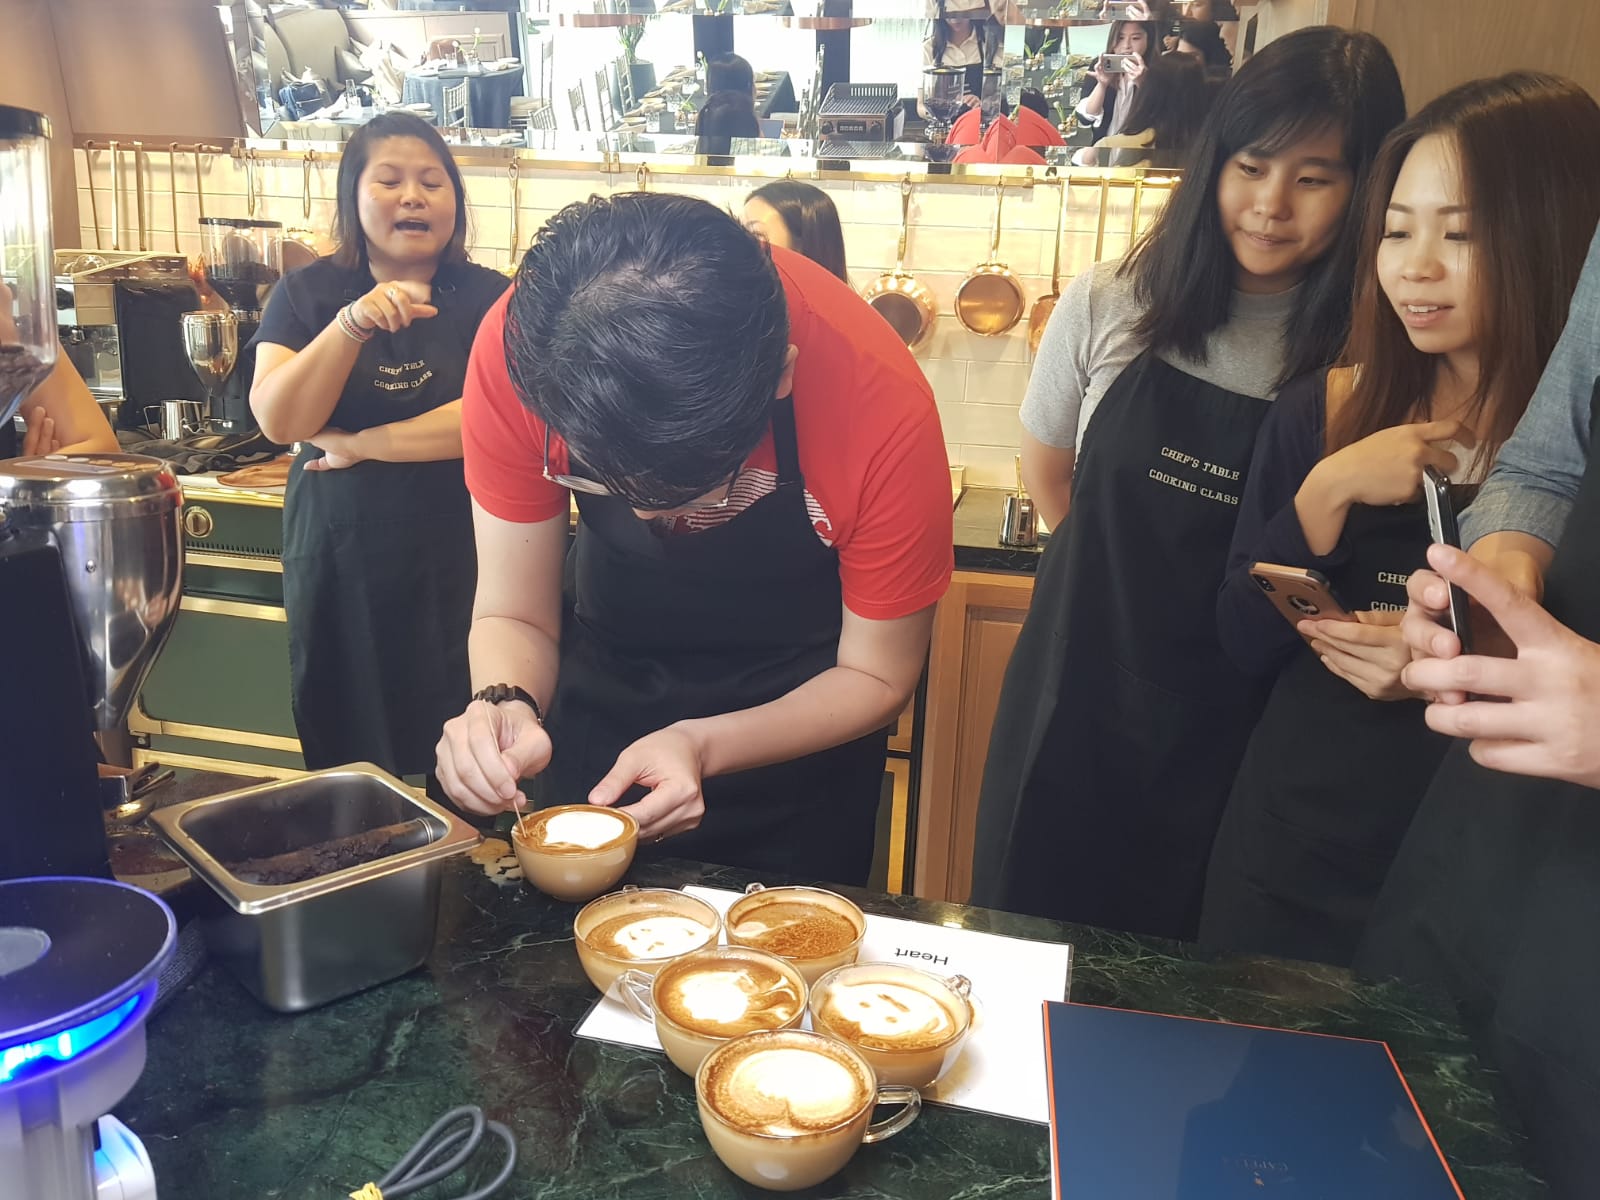
Since then, we have also created many marketing workshops and classes for the F&B industry. Many of these modules are still running in tertiary institutions such as Temasek Polytechnic Skillsfuture Academy and also ITE College East COC classes, below are some snippets of our lectures and workshops:
OCM’s F&B workshops: Food and Beverage Marketing Lectures | Workshops - click to watch classes on customer journey map, JTBD and more.
So, if you are looking for industry practitioners to help you scale your coffee or F&B businesses, do drop us a message or book an appointment. Do also check out our various social media platforms on regular F&B and coffee market updates:
For regular coffee (F&B) related videos: OCM Youtube
For Daily Coffee Inspiration (fun coffee content): OCM IG
For insights into the coffee (F&B) industry: OCM LinkedIN
PS: For the coffee lovers, we continue to share coffee articles (and videos) and have also started a free coffee class section (with free online coffee training supported by coffee partners).
OCM Recommends
Latest event/Webinar

Learn more about the event on The Power of Market Research organised by Alumni of Adelaide University.
**Gain insights into Singapore Industry with a free F&B industry report valued at $495.
See you on 24 August 1630 hr. (Sign up below)
Free tickets code: adelaide0823
Starting a coffee shop?: Free Cafe Setup cost Calculator
Featured coffee brewing method: How to prepare V60 Coffee?
Previously: Making Coffee with a Coffee Sock.
Recent Articles
-
Tim Hortons Singapore is a Canadian Coffee Chain?
Nov 16, 23 09:00 AM
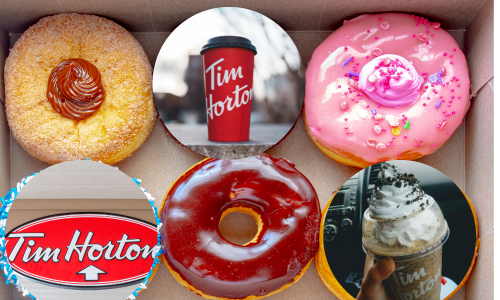 Do you know that Tim Hortons Singapore is a Canadian Coffee Chain? Apparently only 46% knows that in our IG poll!
 -
Coffee report on WMF Coffee Machine Brand in Singapore
Oct 11, 23 03:45 AM
 Coffee report on WMF Coffee Machine Brand in Singapore
 -
What is the target market for Starbucks?
Oct 08, 23 11:04 PM
 What is the target market for Starbucks - research by tertiary students in Singapore
Featured: Office Coffee Machines
Follow Oncoffeemakers.com's board Office Coffee Machines | Singapore on Pinterest.Do check out other cool boards such as the one all on how to make coffee and drip coffee.
Food and Beverage (F&B) Articles
Sustainability Practices in Food Service
3 Free Restaurant Marketing Ideas
Singapore Cafes Reviews -Can they be Trusted?
Location, location, location might be a myth!
Walmart and Walter -The Power of Social Media!
Importance of value pricing for Cafes In Singapore
Why Nescafe is still the Largest Roaster in the World?
Everyone likes Starbucks -here's why
Is your Cafe location an asset or a liability?
Location myopia: why good anchor tenant might not be good?
Measuring the Location attractiveness index.
Social Media Crisis Management for Cafes in Singapore


Free event
Promo

Key in code before check out: WCMFIRST10OFF
Free Coffee Workshop Singapore

Enjoy Free Coffee in Singapore!
Sponsors
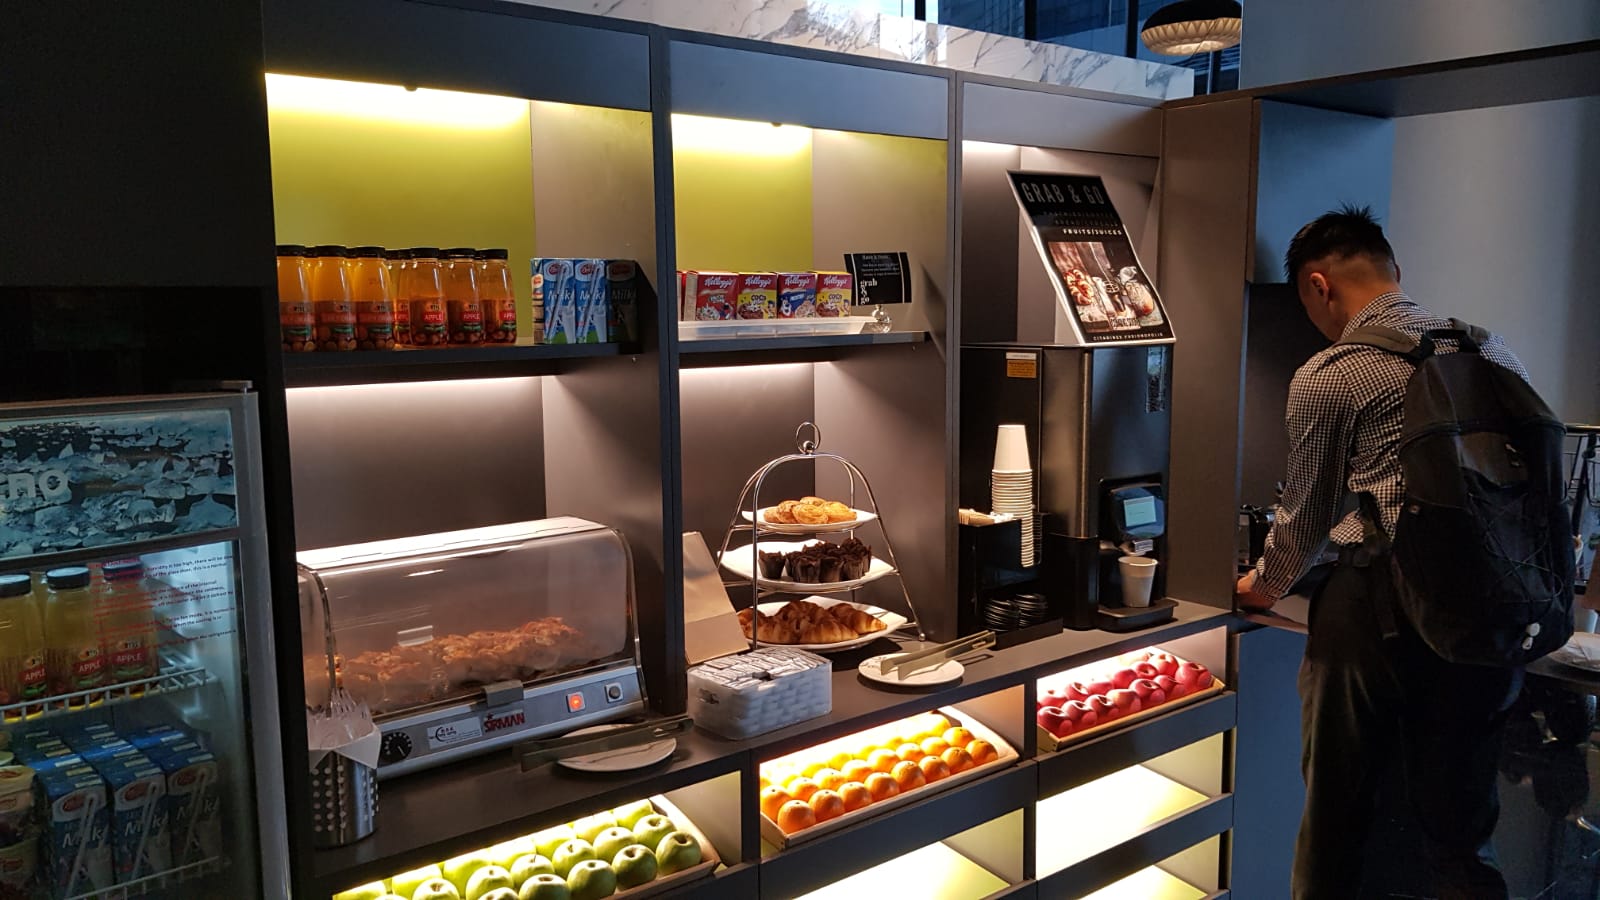
Choosing: Office Coffee Machine
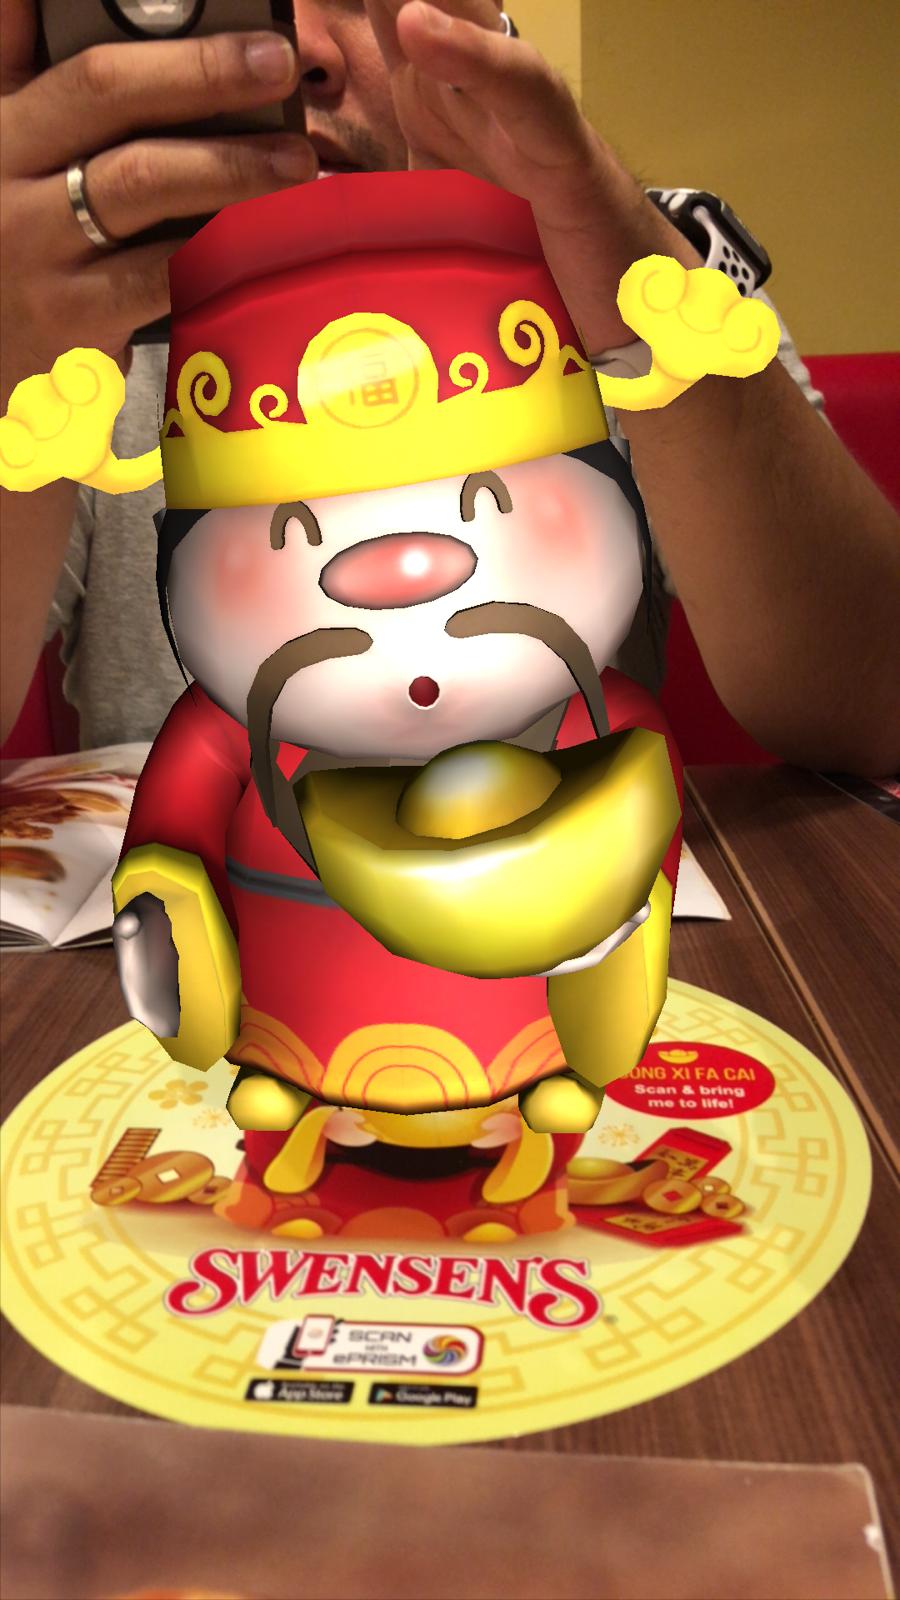
Free: Augmented Reality in Singapore
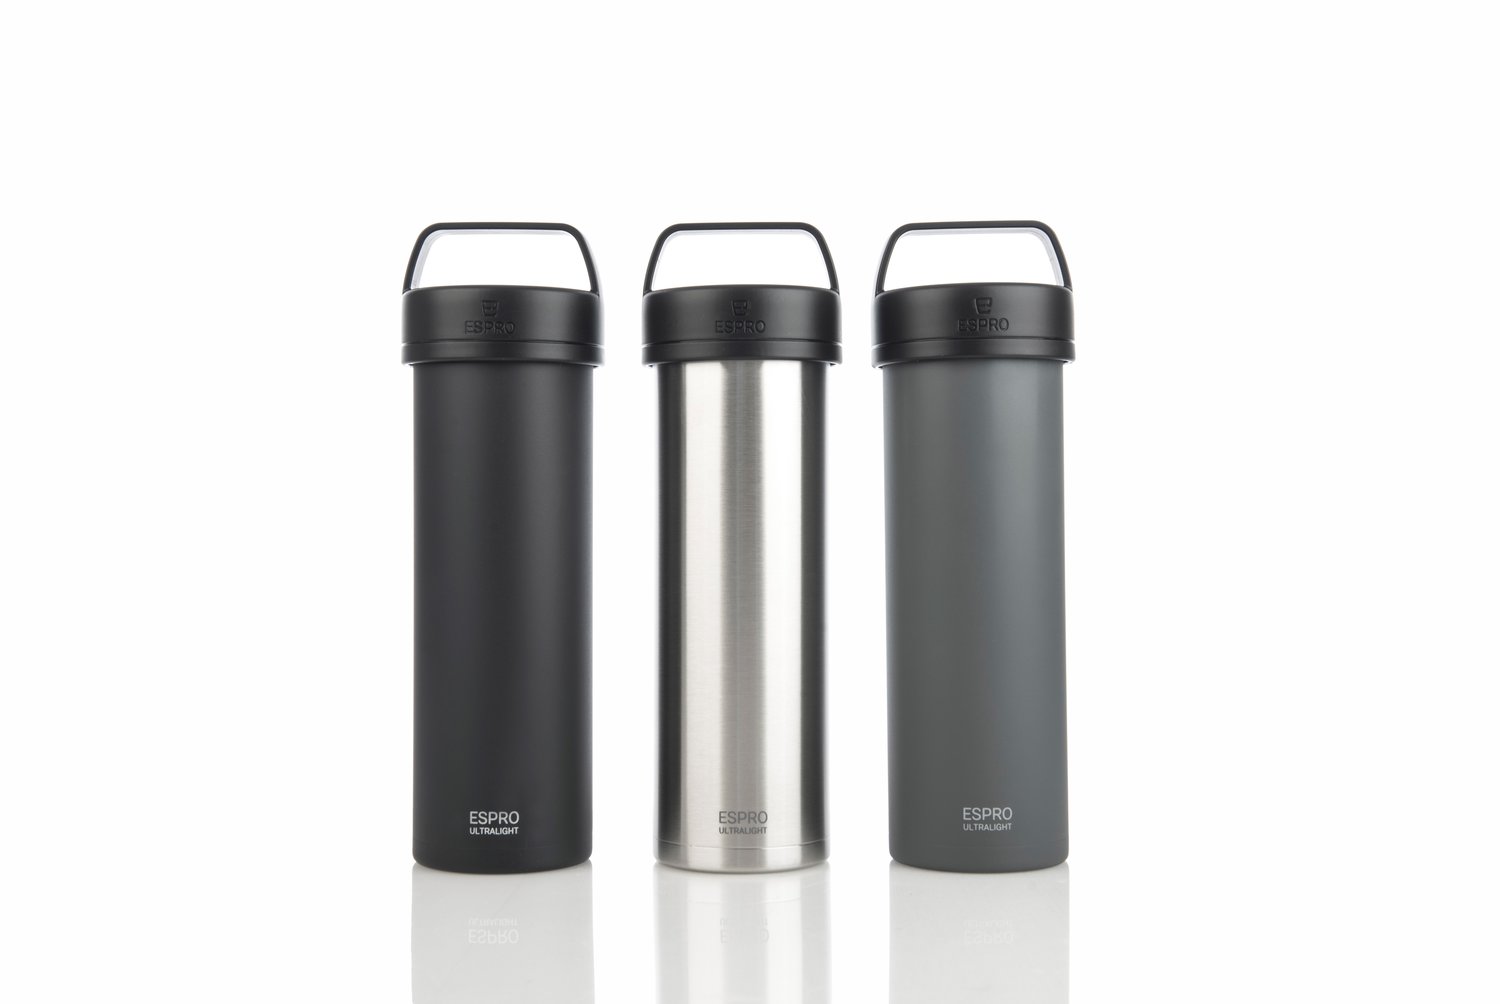
Learn more about ESPRO UltraLight in Singapore

The best filter Coffee Machine in Singapore
SkillsFuture Series: F&B Market outlook
- Venue: Temasek Polytechnic
- Date: 25 June 21
- Time:9 to 6 pm
- Contact us for more details